The hardest work of the gardening season is over, and you’re bringing in your potato harvest.
Or maybe you’ve visited your local farmers’ market and got a little carried away buying farm fresh potatoes.
Nights of home fries and mashed potatoes await, but let’s be real; there’s only so much potato you can eat at one time.
If you leave these spuds on the kitchen counter, they will quickly start to sprout, so a different solution is necessary if you want to savor your crop throughout the winter.
But here’s the good news.
Generations of homesteaders have perfected the art of how to store homegrown potatoes, and you can reap the rewards of their experiments today.
Keep reading to learn how you can preserve your harvest for maximum enjoyment over the months to come.
There’s more than one way to store a potato. Below are five options you can try out until you find what works best for you.
Option 1: Root Cellar Storage

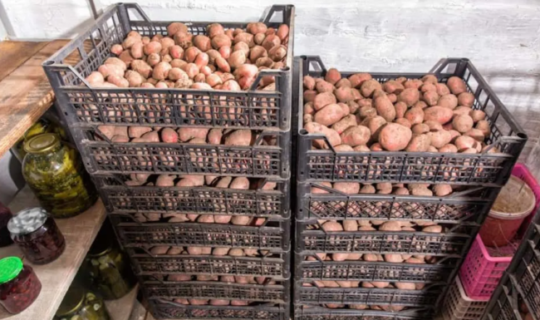
The traditional method for storing potatoes is to put them in a cool, dark place where they aren’t at risk of freezing – like a root cellar.
If your home isn’t so well-equipped, an unheated garage or chilly corner in the basement can also work.
Simply tossing your potatoes into the cellar isn’t enough; you’ll need to prep them beforehand through a multi-day curing process.
How To Sort and Cure Fresh Potatoes
The first step after harvesting your potatoes is to sort through them to separate the ones best suited for storage.
Newly harvested potatoes lack the tough skin that protects them from rot, so take care while handling them not to cut through the skin or bruise them.
You want big potatoes without large puncture marks or blemishes, though small cuts can harden over during the curing process.
Any excessively damaged potatoes should be eaten within a few days or stored with another method.
Some potato varieties store better than others. You’ll have better luck with thick-skinned russets and other brown potatoes than delicate fingerlings and red-skinned varieties.
To prepare for curing, lightly rub some of the extra dirt off your chosen potatoes and set them on newspaper, not touching, in a dark space for up to two weeks.
This process hardens the skin so that the potatoes last longer in storage. While you might be tempted to wash them beforehand, potatoes store best if you leave them dry and dirty.
How to Store Cured Potatoes
Post curing, you can store your potatoes in any container that allows for ventilation, such as a cardboard box, paper bag, or laundry basket.
Avoid plastic because it leads to moisture retention. The potatoes can touch at this point, though many people find it helps to insulate them with a buffer material like shredded paper.
You can then move the potatoes into a cool, dark room, preferably kept around 35 to 40 degrees F. Refrain from using the refrigerator, as the air is too dry and will cause them to shrivel.
Cover the bins to prevent light exposure and cut some ventilation holes if necessary.
It’s best to inspect your potatoes every few weeks to sort out any that have sprouted or are going soft. If left unchecked, a few rotten spuds can spoil an entire bin.
Troubleshooting Stored Potatoes
When stored correctly, your potatoes should last up to eight months. However, a lot can go wrong if you’re new to the process.
Follow these guidelines for the best chance of storage success.
- Keep your potatoes far away from apples and other fresh fruit, as the ethylene gas they put off can cause the potatoes to sprout or spoil.
- Potatoes often develop a sweet taste during storage because they are slowly converting starches to sugars. You can prevent this from impacting your food by bringing the potatoes out of storage a few days before cooking them so that the sugar reverts to starch.
- Potatoes develop green skin when exposed to light. Not only does this skin taste bitter, but it’s also toxic. Cut away any green parts before cooking.
- Don’t wash the potatoes until ready to use. Otherwise, you’re putting them at risk of creating habitat space for microbes that lead to rotting.
- Remove sprouts when you see them unless you plan to use them as seed potatoes.
Option 2: Rebury Potatoes Outdoors

Let’s say that your storage goals are a little less ambitious and you merely want your potato crop to last you through late fall.
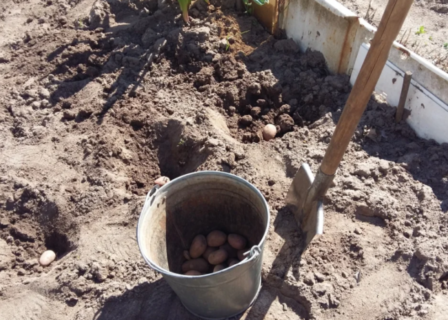
If so, a simple preservation method is to put the potatoes back in the ground immediately after harvesting them.
Dig broad trenches about six inches deep, place the potatoes on the bottom, and cover them with loose soil and straw or several folds of newspaper to protect them against extra rain.
This keeps the potatoes in an ultra-fresh state until you dig them up in the fall, while they would start to rot if you left them connected to the dying potato plant for those extra months.
Note: If you store these spuds in a root cellar storage after you dig them up up a second time, you might add several months to their overall lifespan.
Option 3: Slice and Blanche Potatoes for Freezer Storage

If you have the space available, it may be worth it to store some of your potato harvest in the freezer.
Not only is it more convenient than canning, but frozen potatoes can last a year or longer, which usually beats out the results from a root cellar.
The first step is to peel your potatoes and put them in cold water, ensuring they’re submerged so they don’t turn brown. Chop up larger potatoes so that all the pieces are approximately the same size to ensure even cooking.
Next, bring a pot of water to a rolling boil. Give the potatoes a second rinse before blanching them in the water for three to five minutes, depending on their size.
Use a slotted spoon to remove the potato pieces from the water and plunge them into a bowl of ice water. This stops the cooking process before the spuds become mushy.
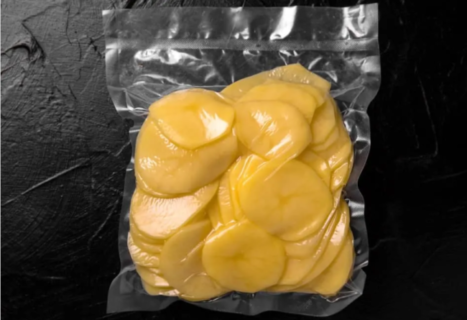
Once cool, drain the potatoes and put them in a quality freezer bag. Using a vacuum sealer is best because it pulls out more air that can lead to spoiling.
When you’re ready to eat your potatoes, pull a bag out of the freezer, allow it to defrost, and cook as usual.
You’ll get a better texture if you let them defrost in the fridge overnight rather than using the microwave.
You can freeze potatoes in a number of ways, whether you want them cubed, shredded, scalloped, mashed, fried or baked. Take a look at our step-by-step tutorial below for all the brilliant ways you can freeze potatoes.
Option 4: Pressure Can Potatoes
It’s also possible to can your potatoes for long term storage that’s not reliant on refrigeration. You’ll need to use a pressure canner, as water bath canners can’t reach the high temperatures necessary for safe storage.
To start, you’ll need quart-sized mason jars, about 20 pounds of potatoes, and salt to taste. Peel the potatoes and remove any eyes before chopping them into half-inch pieces and placing them in a large bowl filled with cold water. Bring a pot of water to boiling and blanch for three to five minutes.
Drain the potatoes and rinse them to remove starch before spooning the cubes into sterilized mason jars. Fill them with hot water, leaving an inch of headspace from the rim. You can add about one teaspoon of salt per quart if preferred.
Wipe the rims before putting on clean rings and lids, and pressure can at 10 pounds of pressure for forty minutes.
